Dryer Vent Repair in Rockwall, TX
Expert repair of crushed flex hoses, detached attic seams, damaged roof vents, and code-violating layouts.
Solving Critical Dryer Vent Failures in Rockwall Homes
Dryer vent systems endure constant heat cycling, moisture vibration, and physical movement whenever laundry appliances are nudged against the rear drywall. Over time, cheap corrugated foil transition hoses get crushed behind appliances, while unstrapped attic duct runs sag, collecting stagnant water and heavy lint dams.
When a dryer duct separates inside an attic or wall crawlspace, hundreds of gallons of humid exhaust air and pounds of lint dump directly into your home's structural framing. This creates rapid black mold growth, ruined insulation, drywall decay, and an acute fire risk from stray sparks entering dry lint accumulations.
Rigid vs. Flexible Ducting: Building Code Compliance
The International Residential Code (IRC M1502) strictly mandates that dryer exhaust systems must have a smooth interior finish and be constructed of metal not less than 0.016-inch thick (28 gauge). Corrugated plastic, vinyl flex, and thin unlisted foil ducts are explicitly prohibited for concealed in-wall runs.
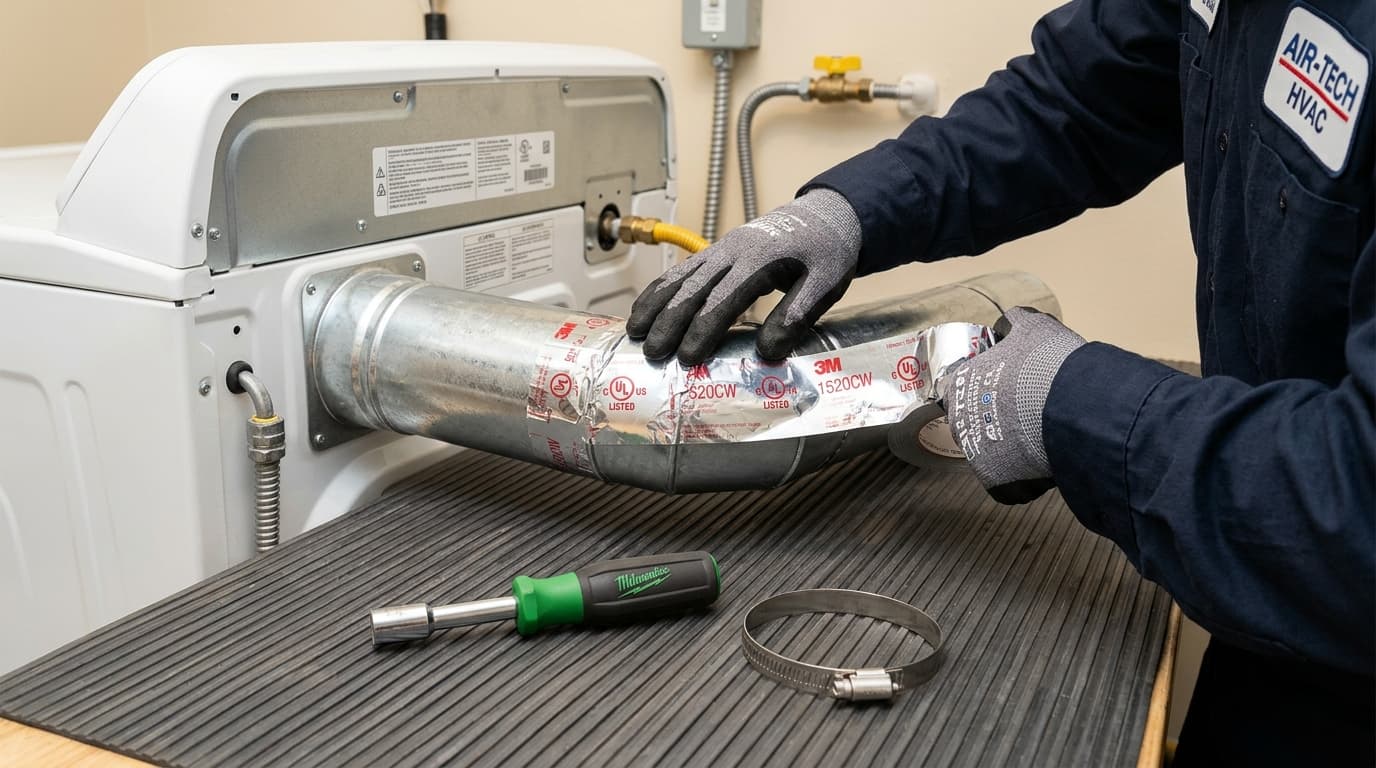
Our Rockwall repair technicians replace substandard, sagging materials with commercial-grade 4-inch rigid aluminum or galvanized steel. We ensure the male ends face downstream toward the exhaust direction, preventing lint-catching lips and securing all seams with UL 181 high-temperature foil tape.
Rerouting Inefficient and Overly Long Vent Paths
Many two-story homes in Rockwall, Heath, and Fate were built with complicated duct paths containing five or six 90-degree elbows. Each 90-degree turn is equivalent to adding 5 feet of straight pipe resistance! If your total equivalent run exceeds 35 feet without a listed booster fan, your dryer will constantly overheat.
Our technicians re-engineer problematic venting routes, taking the straightest, shortest trajectory to an exterior side wall or installing certified booster fans where architectural restrictions dictate longer vertical roof runs.
Our Step-by-Step Process for Dryer Vent Repair
Damage Location & Leak Test
We pinpoint disconnected joints, holes, or crushed sections in walls, attics, or behind appliances.
Defective Material Removal
We cut away collapsed flexible foil, punctured vinyl ducts, or rusted vent pipes.
Rigid Metal Replacement
We install smooth, rigid metal ducting with seamless transitions and mechanical strapping.
UL 181 Seal & Exhaust Test
All connections are hermetically sealed with commercial foil tape and retested under full load.
Key Benefits for Your Household
Related Services, Guides & Locations
Explore other specialized solutions and local coverage in Rockwall County:
Frequently Asked Questions
How do I know if my dryer vent is damaged or disconnected?
Common signs include warm humid air or lint dust in the laundry room or attic, a noticeable burning odor, wet drywall near the duct run, or clothes taking multiple cycles to dry.
Can I use standard silver duct tape to fix a dryer vent leak?
No! Standard duct tape dries out, crumbles under heat, and is a fire code violation. Only UL 181A-P rated aluminum foil tape or mechanical clamps should ever be used.
Can a proper dryer vent repair improve drying time?
Yes. Removing crushed elbows and leaky joints immediately eliminates backpressure, restoring rapid exhaust flow and halving drying times.
Book Dryer Vent Repair
Get your free written quote today.